
How to use a photo booth to make your event feel unforgettable.
A practical, guest-first guide to placement, templates, print flow, sharing, and small experience choices that turn a photo booth into the part of the event everyone talks about.
- DatePublished
- ReadReading time
- 8 min8 minutes
- ByWritten by
- OjashOjash Yadav
On this page+
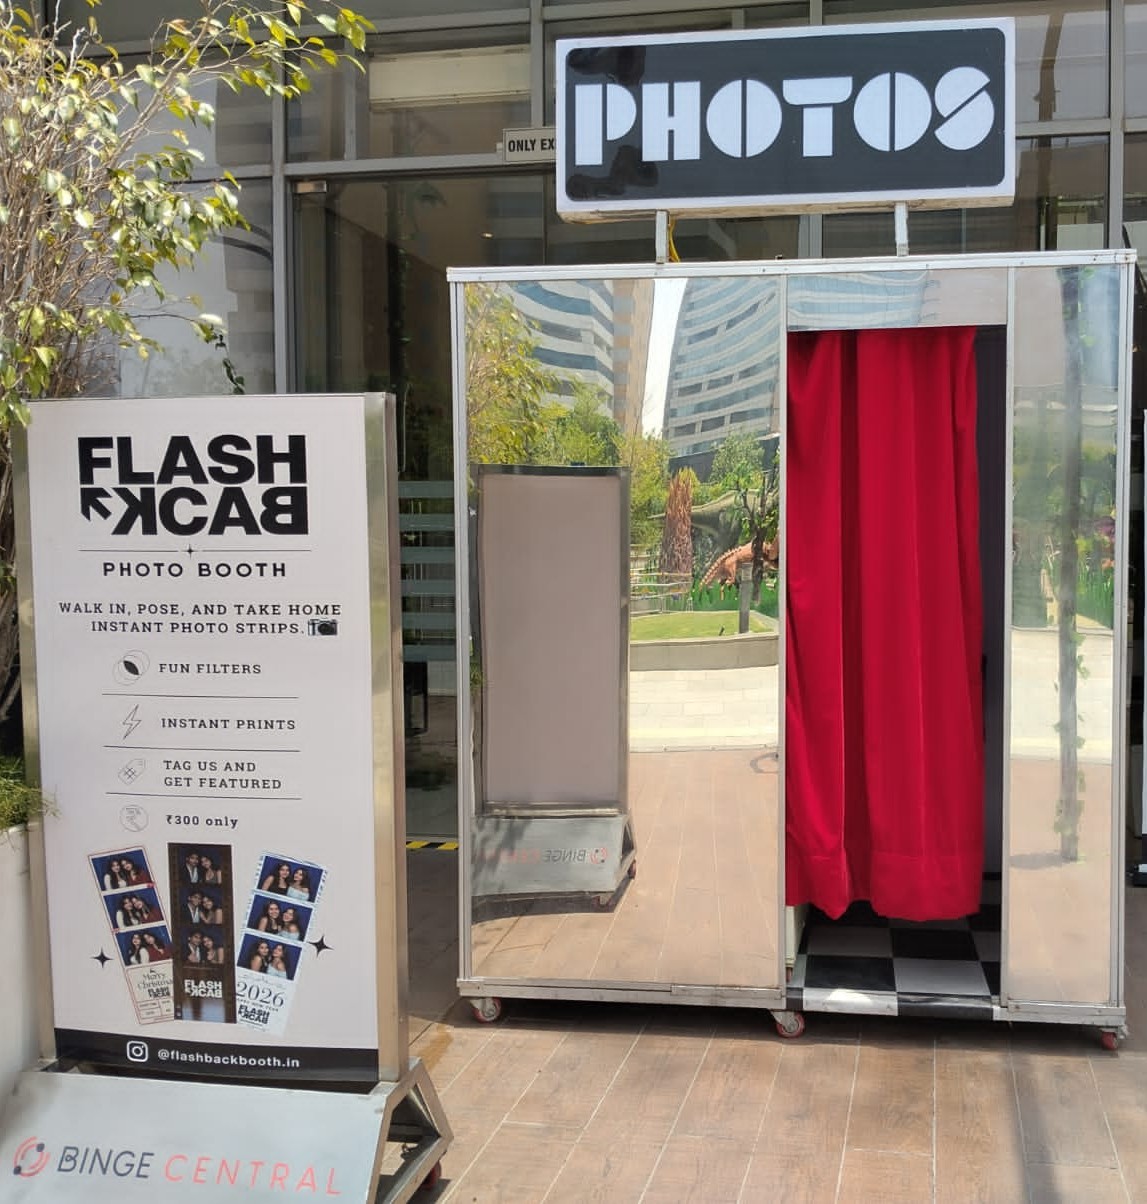
Event planning note
The best booth is not decoration. It is a guest journey.
A photo booth works when it gives guests something simple to do, something beautiful to keep, and something easy to share.
Most event activities ask people to pause the night. A good photo booth does the opposite. It gives the room a small ritual: step in, choose a pose, laugh at the countdown, collect the strip, scan the QR, and pass the result around.
That rhythm is why photo booths work across weddings, birthdays, restaurants, malls, college fests, and brand activations. The booth becomes a memory machine, but also a natural content engine for the host.
Why photo booths work
Guests already want photos. The hard part is removing friction. A booth gives them good lighting, a fixed setup, a clear flow, and an instant output. Nobody has to find the right corner, ask a stranger for a photo, or worry whether the picture will look good.
The printed strip changes the psychology too. It feels more valuable than another image in a camera roll. People pin it to mirrors, slip it into wallets, stick it inside phone cases, and share it because it already looks finished.
The goal is not just more photos. The goal is a repeatable moment guests can enter without instruction.
Where to place the booth
Put the booth where energy already exists, not in a forgotten corner. The best placement is close enough to the main flow that people see other guests using it, but not so central that the queue blocks service, seating, or the dance floor.
- For weddings, place it near the cocktail area, reception entry, or lounge zone.
- For cafes and restaurants, place it where guests naturally wait, walk, or take photos.
- For malls and brand activations, place it along the visible traffic path with a clear queue line.
- For college events, place it near the stage entry or food zone so groups can gather naturally.
Planning an event that needs a booth people actually use?
Tell us your date, venue, guest count, and city. Flashback can help you choose the right placement, template, print flow, and sharing setup.
Design the photo strip
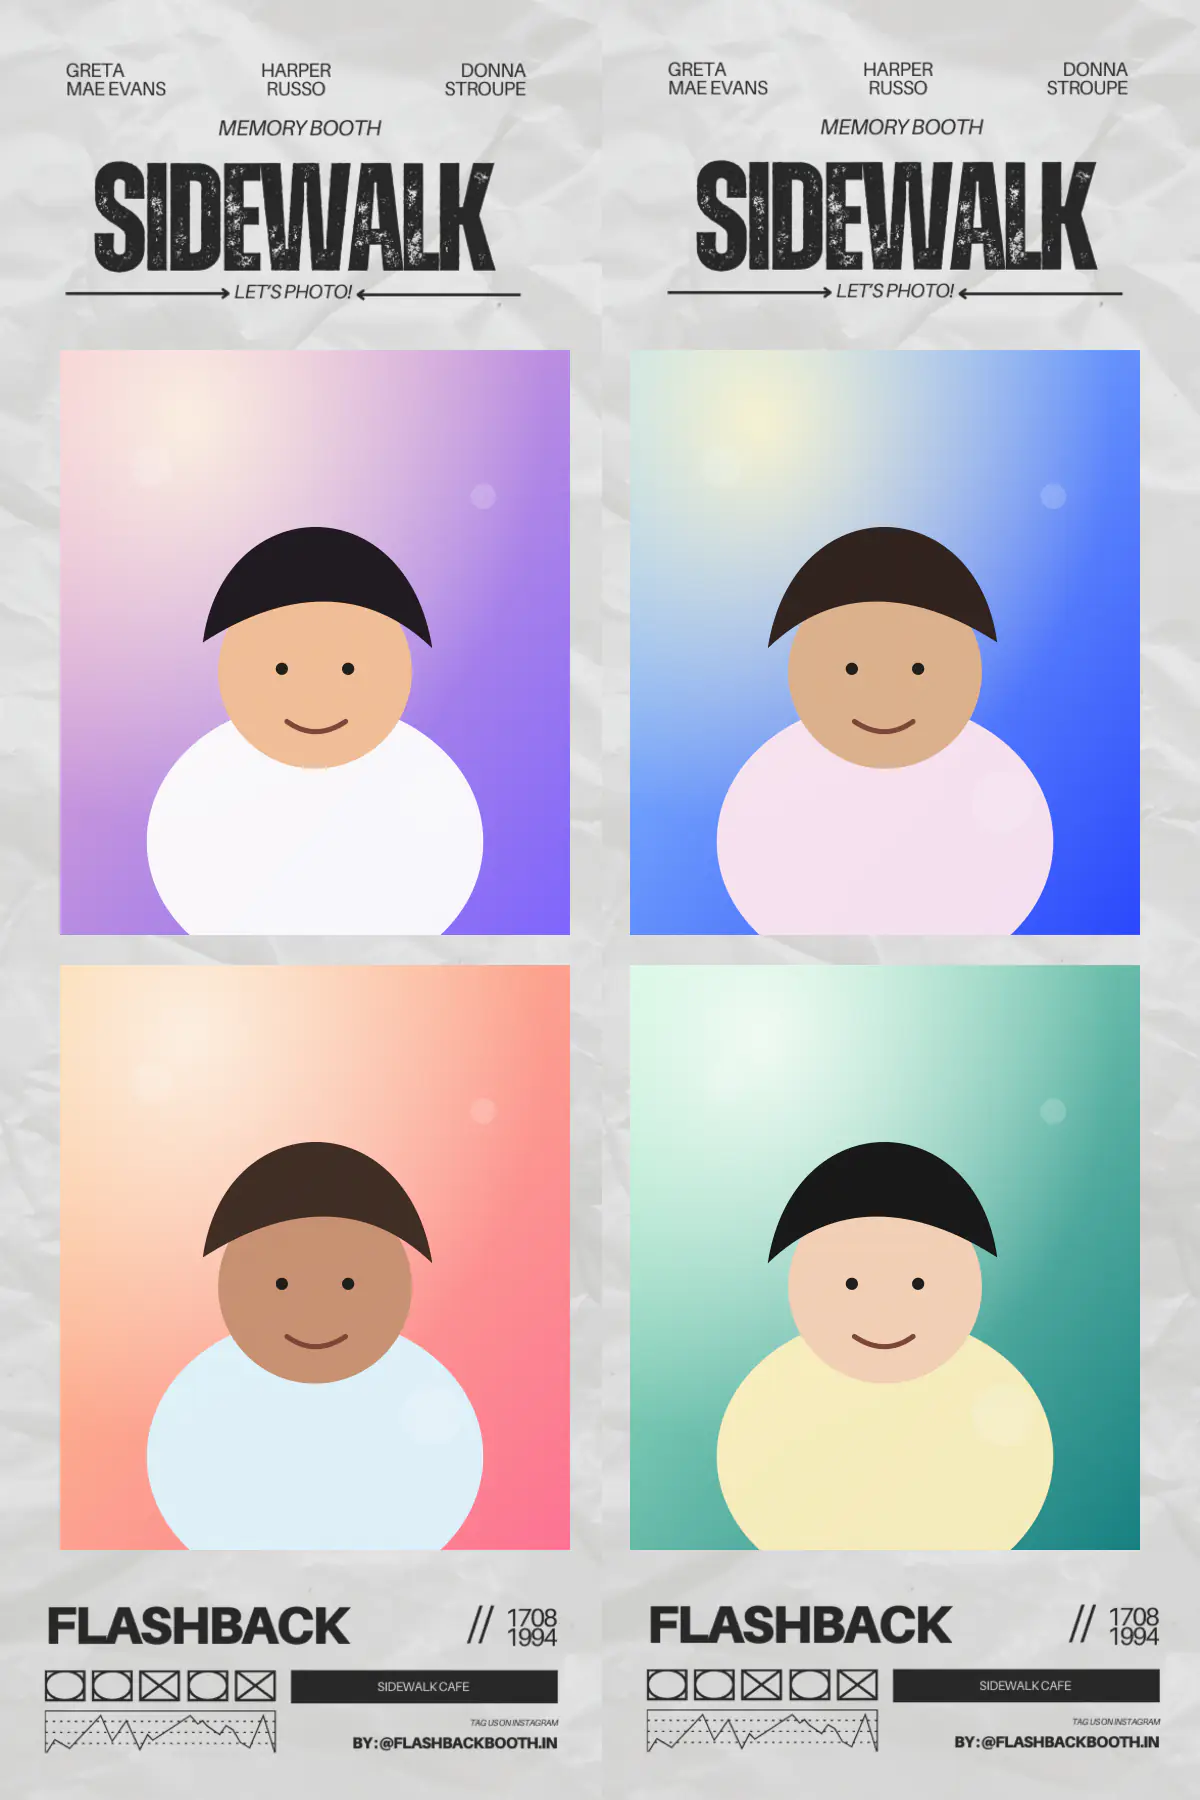
The strip should match the event without becoming visually noisy. A wedding strip might use names, date, and a clean motif. A brand activation might use campaign colors, a logo, and a short message. A cafe booth can stay more timeless so every guest wants to post it.
Keep the text short. The photo is the hero. The template should make the memory feel designed, not buried under branding.
01
Use one clear visual idea
02
Keep names and dates readable
03
Leave enough white space for faces
Make sharing easy
A booth should create two outcomes: the physical strip and the digital share. The print gives the guest a keepsake. The QR or link gives the event reach. When both happen quickly, guests do not have to choose between enjoying the night and posting the memory.
For public venues, put the Instagram handle or brand cue where it is visible but not overpowering. For private events, use a hashtag only if guests already understand it. Simple beats clever when people are moving through a queue.
Match the booth to the event
Different events need different booth behavior. A birthday booth can be playful and fast. A wedding booth needs polish, consistency, and a print guests want to keep. A cafe booth needs to survive daily use while making the venue feel more social.
For brand activations, think beyond the photo. The booth can collect attention, guide people toward a CTA, and turn a quiet stall into a moment with a line.
Booking checklist
Before booking, gather the practical details. A clear brief helps the booth team recommend the right setup and prevents last-minute venue surprises.
Event date, city, venue name, and setup window.
Expected guest count and peak crowd timing.
Indoor or outdoor placement, power access, and space available.
Whether you need printed strips, digital sharing, or both.
Template direction: wedding names, brand logo, venue identity, or simple evergreen layout.